How to Check Motherboard Model
Discover the Secret: How to Check Motherboard Model in Seconds
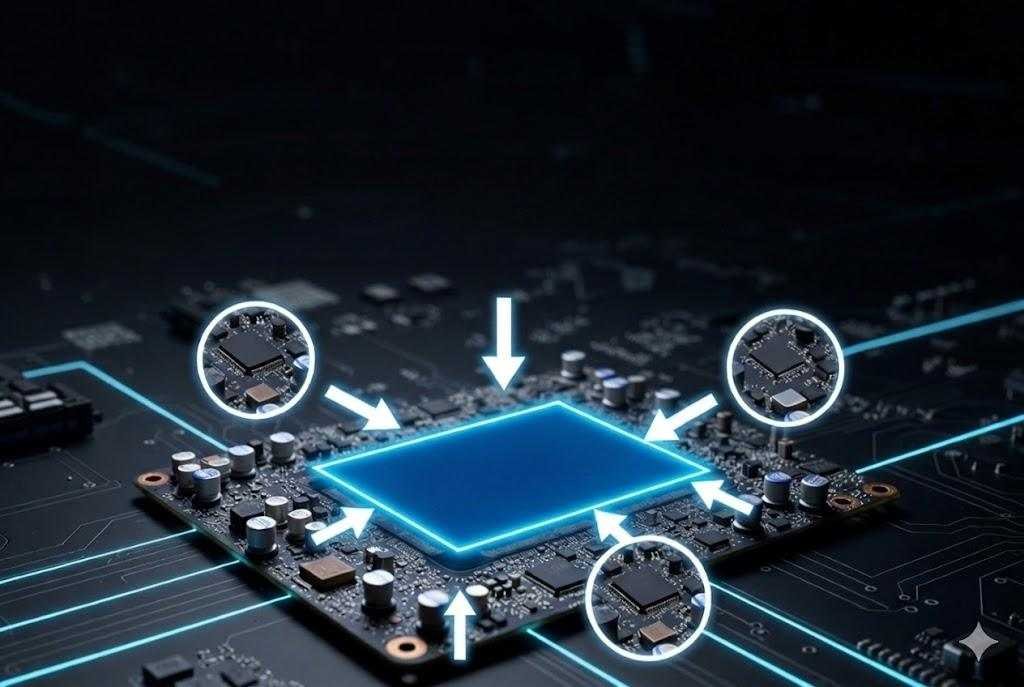
Finding out the specific parts inside your computer is a powerful skill that every user should have. Whether you want to add more RAM, upgrade your CPU, or just learn about your tech, knowing how to check motherboard model info is the first step. You do not need to be a computer genius or a professional builder to find this information. Most people think they have to open their computer case and look inside with a flashlight, but that is actually not necessary at all. There are several very simple ways to get these details right from your screen using built-in tools.
Your motherboard is the heart of your entire system because it connects every single component together like a giant puzzle. If you want to download the right drivers or ensure a new part is compatible, you must know your model name. In this ultimate guide, we are going to show you the most effective and quickest methods to identify your hardware. We will use easy words and clear steps so that anyone can follow along without getting confused. Let’s dive into the world of PC hardware and unlock the secrets of your machine together right now.
Why Knowing Your Motherboard Model is Essential
Understanding your hardware is like having a map for a long journey through the digital world. Many users often wonder how to check motherboard model details when they realize their computer is slowing down or needs a fresh update. If you try to install a piece of software or a new hardware component without checking compatibility, you might run into big problems. Your motherboard determines what kind of processor you can use and how much memory your system can handle at one time. By knowing the exact model, you gain total control over your computer’s future performance and long-term health.
Another great reason to identify your board is for driver updates which keep your internet and sound working perfectly. Manufacturers like ASUS, MSI, Gigabyte, and ASRock frequently release small software patches that fix bugs and improve speed. If you do not know your model, you won’t know which file to download from their official websites. This knowledge saves you a lot of time and prevents the frustration of installing the wrong software. It is a simple piece of information that makes a massive difference in how you interact with your technology every single day.
Using System Information to Identify Your Hardware
One of the easiest and most popular ways to find your tech specs is by using the System Information tool built into Windows. This tool is like a giant library that stores every single detail about your computer’s internal parts and software settings. To start, you simply need to click on your Start menu and type “System Information” into the search bar at the bottom. Once the window opens, you will see a long list of items on the right side of the screen. Look for the lines that say “BaseBoard Manufacturer” and “BaseBoard Product” to find your answer.
This method is wonderful because it is completely safe and does not require you to download any extra programs from the internet. It provides a clean and clear look at your “System Model” and “System SKU” as well, which can be very helpful. Many people find that this is the most reliable way to learn how to check motherboard model names without any stress. If the information says “Not Available,” do not worry at all because we have several other powerful methods to try. Sometimes pre-built computers from big brands hide this data, but our next steps will surely reveal it for you.
Quickest Method: How to Check Motherboard Model via Command Prompt
If you want to feel like a real tech expert, using the Command Prompt is the fastest way to get results. You do not need to navigate through many menus or click lots of buttons to see your hardware details here. First, press the Windows key on your keyboard and type “cmd” then hit the Enter key to open the black command window. Once the window is open, you will type a specific “wmic” command that asks the computer to show its baseboard details. It sounds complicated, but it is actually just one short line of text that does all the hard work for you.
Type the following: wmic baseboard get product,Manufacturer,version,serialnumber and then press Enter on your keyboard. Immediately, the screen will display the name of the company that made your board and the specific model number you need. This is truly the best answer for how to check motherboard model questions when you are in a big hurry. It is a direct line of communication to your computer’s brain that gives you the facts without any fluff. Many professionals prefer this method because it works on almost every version of Windows without failing or lagging.
Exploring Your Motherboard Details with PowerShell
Windows PowerShell is a more advanced version of the Command Prompt, but it is still very easy for a beginner to use. It uses modern coding language to pull deep data from your system that other tools might sometimes miss or skip. To open it, right-click the Start button and select “Windows PowerShell” or “Terminal” from the list that pops up. Once the blue or black window appears, you can use a simple “Get-WmiObject” command to fetch your motherboard data instantly. This tool is very powerful and provides highly accurate information for anyone looking to upgrade their PC.
Copy and paste this line: Get-WmiObject -Class Win32_BaseBoard | Format-Table Manufacturer, Product, Model, PartNumber, Series. After you hit Enter, PowerShell will create a neat little table that displays everything you could possibly want to know about your board. This is a fantastic secondary keyword method for how to check motherboard model details if the Command Prompt felt too basic for you. It provides extra data like part numbers which are extremely helpful if you need to buy an exact replacement. Using PowerShell makes you look like a pro while giving you the most detailed hardware report possible.
Identifying Your Board Through the BIOS Menu
Sometimes the best way to see what is inside your computer is to look at it before the Windows operating system even starts. The BIOS or UEFI is the basic software that tells your hardware how to wake up and start working together. To enter this special menu, you usually have to tap a specific key like F2, F10, or Delete right when you turn the power on. Once you are inside the BIOS, the motherboard model name is usually displayed right at the top of the main screen. It is a very direct way to see the truth about your hardware.
Checking the BIOS is the most “honest” way to see your specs because this information comes directly from the hardware chip itself. If you are wondering how to check motherboard model specs when your Windows won’t even load, this is the solution for you. Be very careful while you are in this menu, as changing settings here can affect how your computer runs. Just look at the information you need and then exit without saving any changes to stay safe. It is a deep dive into your computer’s soul that every curious tech enthusiast should try at least once.
Using Third-Party Tools for Detailed Hardware Reports
If you want a more visual experience with icons and graphs, there are amazing free programs that can help you out. Tools like CPU-Z or Speccy are famous in the computer world for being small, safe, and incredibly detailed. When you open CPU-Z, for example, there is a specific tab at the top labeled “Mainboard” that contains every detail imaginable. It shows the chipset, the BIOS version, and even the date the motherboard was manufactured. This is a very “human-centered” way to learn how to check motherboard model info because the interface is so friendly.
Speccy is another great choice because it gives you a “summary” page that lists all your parts in one beautiful list. It even tells you the temperature of your motherboard so you can make sure it isn’t getting too hot while you play games. These tools are perfect for people who want to keep a constant eye on their system health and performance levels. They are highly recommended by tech experts across the globe for their accuracy and ease of use. If the built-in Windows tools feel a bit boring, these colorful third-party apps will make the process much more exciting.
Understanding Motherboard Sizes and Form Factors
While searching for your model, you might see words like “ATX,” “Micro-ATX,” or “Mini-ITX” appearing next to the name. These words describe the physical size and shape of your motherboard, which is known as the “form factor.” Knowing the size is just as important as knowing the model name, especially if you are planning to buy a new computer case. A giant ATX board will not fit into a tiny compact case, so you must match them correctly. Learning how to check motherboard model sizes helps you avoid making a costly mistake when shopping for new parts.
Most standard desktop computers use the ATX size because it has plenty of room for extra plugs and expansion cards. Smaller office computers often use Micro-ATX because it saves space while still being very powerful for daily tasks. If you have a very tiny “cube” style computer, it likely has a Mini-ITX board inside which is the smallest standard size. When you find your model name online, the manufacturer’s website will always list this form factor clearly. Understanding these sizes makes you a much smarter shopper and a more capable computer builder for your future projects.
Comparison Table of Methods to Check Motherboard Model
| Method Name | Speed | Difficulty | Best For |
| System Information | Fast | Very Easy | Beginners & Standard Users |
| Command Prompt | Fastest | Easy | Quick checks without clicking |
| PowerShell | Fast | Medium | Getting extra part numbers |
| BIOS/UEFI | Slow | Advanced | When Windows won’t boot up |
| CPU-Z (Software) | Medium | Easy | Visual details and temperatures |
| Physical Inspection | Slow | Hard | If software tools fail entirely |
How to Find Your Motherboard Model Physically
If all digital methods fail, or if your computer simply won’t turn on, you can always look at the hardware with your own eyes. You will need to turn off your computer, unplug the power cord, and remove the side panel of the case. Look for the largest circuit board inside where everything else is plugged in; that is your motherboard. Usually, the model name is printed in large, bright letters right in the middle or near the RAM slots. This is the ultimate “real world” way of how to check motherboard model details when tech fails.
Manufacturers usually print their logos very clearly, so you should see names like ASUS or MSI immediately. Sometimes the model number is hidden behind the graphics card, so you might need to look closely with a small flashlight. This method is great because it allows you to see the physical condition of your board as well. You can check for dust or any visible damage while you are looking for the name. Just remember to touch a metal object first to discharge any static electricity from your body before touching the inside of your PC.
Tips for Upgrading After Finding Your Model
Once you have successfully learned how to check motherboard model details, the real fun of upgrading can begin. You can now go to the manufacturer’s website and look up the “Support” or “Specifications” page for your specific board. This page will tell you the maximum amount of RAM you can install and which CPU generations are supported. It is like having an instruction manual that tells you exactly how to make your computer faster and stronger. This knowledge gives you the confidence to improve your machine instead of buying a brand-new one.
Always remember to check the BIOS version listed on the manufacturer’s site compared to the one you found in your search. Sometimes, a simple BIOS update is required to make a new, powerful processor work on an older motherboard. This is a very common step for people who want to save money by keeping their old board while getting a new “brain” for the system. Being able to identify your hardware is the foundation of being a smart PC owner. You are now equipped with the information needed to make great choices for your technology’s future.
Helpful FAQ About Motherboard Identification
1. Can I find my motherboard model on a laptop?
Yes! You can use the System Information or Command Prompt methods just like on a desktop. However, laptop motherboards are often custom-made by the laptop brand (like HP or Dell), so the model name might just be the name of the laptop itself.
2. Why does my system say “BaseBoard Product Not Available”?
This usually happens with pre-built computers from companies like Dell or HP. They use custom boards that don’t always report a standard model name to Windows. In this case, searching for your laptop or desktop “Model Name” on the brand’s website is the best way to find specs.
3. Is it safe to use the Command Prompt to check my specs?
Absolutely. Using the “wmic” command is a “read-only” action. It only asks the computer for information and does not change any settings or delete any files. It is one of the safest ways to interact with your system.
4. Do I need to open my PC to find the motherboard name?
In 99% of cases, no! Software methods are much faster and safer. You should only open your PC if the computer is broken and won’t turn on, or if you are already planning to install new parts.
5. Does knowing the model help with gaming performance?
Directly, no, but indirectly, yes! Knowing your model tells you if you can upgrade to a faster CPU or better RAM, which will definitely make your games run much smoother and look better.
6. What is the difference between a Chipset and a Motherboard Model?
The chipset (like B550 or Z790) is the “brain” of the motherboard that handles communication. The model name (like ROG Strix or Tuf Gaming) is the specific product built by a company using that chipset.
Conclusion: Empower Your Tech Journey
Learning how to check motherboard model details is a fantastic milestone in your journey to becoming tech-savvy. You have moved past being a simple user and are now someone who understands the “bones” of their machine. Whether you used the quick Command Prompt trick or looked deep into the BIOS, you now have the keys to your computer’s kingdom. This information allows you to shop for parts with total confidence and solve technical problems like a seasoned professional. It is a wonderful feeling to know exactly what makes your digital world spin every single day.
Now that you have this valuable information, why not take the next step and see if your drivers are up to date? Or perhaps you could check if your motherboard can support a faster SSD for lightning-quick loading times. The possibilities are endless once you know the foundation you are building upon. Share this guide with a friend who might be struggling with their slow computer so they can learn these easy tricks too. Technology is much more fun when you understand how it works, and we are so glad we could help you unlock those secrets today!